Showing posts with label DIY. Show all posts

Wednesday, November 14, 2012

Bones Room Divider Part 1: I’m plotting, I’m planning….I’m sharing

I want you my pretty....
I was serious when I said I wanted to make one of my own, and my brain has been whirling with ideas.  So the first step to recreating this gorgeous beast is to figure out the approach…what will it be made of? How will it be constructed?  How can I streamline the process to make this as easy as possible?
First I took a little time to really scrutinize the photos and quite quickly you can see that this is really only one piece duplicated over and over again.
See you can see the seams where they are connected
 So in theory I would only need to recreate one piece to use as a mold.  Of course what type of mold depends on what materials I am going to use.  The original piece is made of lightweight fiberglass and then sprayed to be this beautiful gold color. 
Now truthfully I don’t know the first thing about molding fiberglass.  I have googled the process and read a few website showing some tutorials, but everything is for a one sided item (like a press mold).  I’m not sure how you would make something that is a complete piece.  I could also cast the fiberglass, which is basically make a base out of styrofoam and then layer fiberglass on top.  That would make a lightweight finished product (I think…this is all in theory) but of course to make something similar in scale to the original I would need to make 84 separate pieces.  The idea of doing that all by hand is daunting.
Then I gave some thought to changing materials to either clay or porcelain…I could quite easily sculpt the starter piece out of clay.  This medium would really allow me to get the smooth as silk finish, by burnishing it in when it is leather hard, the glaze options would be endless (OMG could you see this as one giant raku piece) .  Also if I made a plaster mold out of the sample piece I could slip cast the rest which would make the process drastically easier and quicker.   But for all the pros, the one con I’m really worried about with this approach is how heavy it will be.  One piece would be a decent weight, say the weight of that vase you may have on your dining room table.  Now imagine 84 of them all connected together…yeah a beast is right.  Also, if I did go this route I need to think of a way to connect them since I don’t have access to some crazy huge kiln.  The pieces would have to be fired several at a time and assembled (somehow).  Truthfully it might be prudent to do a sample run my making a MUCH smaller version of this design, something that would be used as well art went completed.
So…what do you guys think?  Any holes in my thought process?  Any suggestions or comments?  All is welcome!

Becca

Tuesday, November 6, 2012

Woman Obsessed: Don Harvey “Bones” room divider

I know I know…that is a strong title, but I truly am a little obsessed with this room divider on the Big E (here).  As soon as I saw it, it blew my mind with its awesome-ness….then I read the actual listing and found that the seller has four…that is right FOUR of these.  How much vintage karma do you have to cash in to get one?…let alone four!  Check this thing out!


Oh man…there is no way I can afford this (or would spend that much bank on one)…so that means I have to figure a way to make one for myself.  I’m planning and plotting the method as I type…stay tuned.

Becca

Sunday, April 15, 2012

DIY: Frame Mat cutting

At the Andrew Bird concert I went to a couple of weekends ago, I picked up this awesome art print made for the show date.  

 
 Since I want to get this baby hung, I thought I would share how to cut your own frame mats at the same time.  This is a skill I picked up after paying out too much $$ for Michaels to cut mats for my own art back in the day.  I quickly realize it was SO much cheaper to do myself, and rather easy.

With my print in hand I make a quick trip to the local Michaels and headed straight for the framing section (I try to put blinders on or I will buy art stuff…and lots of it.  I can’t seem to help myself it is the artist in me). 

 
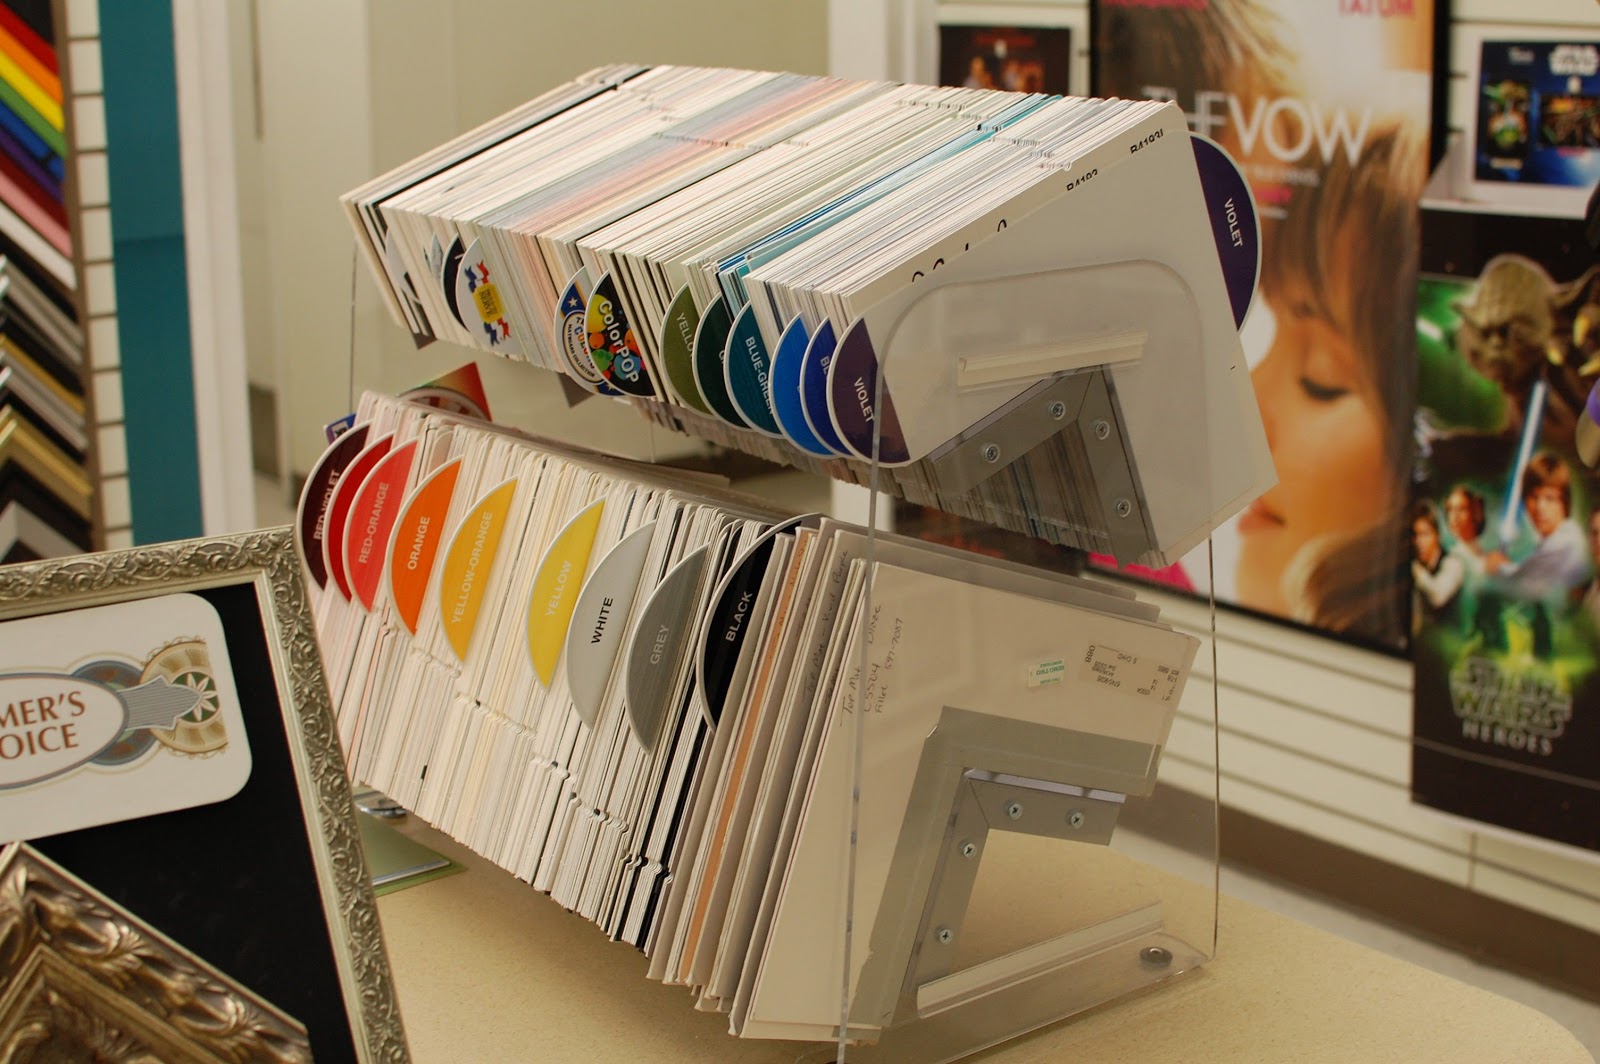
 I flipped through the mat corners on the counter which are usually arranged by color. 
Now it is great to work with something that has lots of color so you have multiple options, because not all mats are available for straight sale.  Some certain colors or textures can only be ordered if they cut the mat for you, which is too expensive.  It can be 50+ bucks for one mat and generally a whole sheet is under 15 dollars (plus a whole sheet can be used for multiple mats).   I quickly decide to go with a light teal shade, which complements my print. 

TIP: Always look your mat over before you purchase!  At times I have seen smudges or bend corners…and depending on what I needed it for…I may have purchased it with those flaws…BUT! Always asked and received a discount off the price because of the imperfections.

I’m sure 95% of people don’t have a mat cutter, but if you think you will cut more than a few mats it is worth it.  I have an inexpensive one and have used it for the past 8-9 years and will continue to use for years to come.  The only thing I have to do is occasionally change the blade. (I think I have changed it once.)  I priced them at Michaels when I picked up my board, the one I have was available for 30 dollars, but there was a cheaper option as well..

 
Now I’m ready to do the actually cutting so I gather everything I need which include:
·         Pencil (Use a pencil NOT a pen.  There is the potential to smear ink everywhere.)
·         Push style Mat cutter
·         Longest ruler I have
·         Mat Board
·         couple sheets of foam board


Step 1: Planning and deciding on the measurements of your mat
When it comes to deciding how wide you want to make the mat around the picture, there are a few things you might want to think of first.  The outside size of your mat will be the size of frame you need. So if you want to use some of the precut frames, or frames lengths available
(i.e. buying two sets to make a frame, an 18” length plus a 40”length will give you a 18” x 40” frame that you just screw together in the corners using the hardware provided) then factor this in when measuring.  I personally order custom frames from a woodworker on Etsy, because I can get them made out of birch to match my Heywood Wakefield items. (He does excellent work if anyone wants the name!)


  Step 2: Measuring and drawing the frame on the BACK of the board
I also will quickly shade the void that will be cut out so I don’t get confused while cutting (It has happened!)
 

Step 3: Cutting
The first thing I do is put my piece of foam board on the floor, and then place the mat on top face down. (I do all my cuts on the floor, instead of my table.  I use the foam board so that the razor will have something to sink into once it has cut through the mat and I use the floor because when I think about cutting stuff on my Heywood Wakefield Triple Wishbone dining table I get hives!)

Foam Board...kinda smalls so used two.  
The foldout presentation boards are perfect but couldn't find one.
TIP: I save on cutting by using the corner of the board for two of my sides when I measure out my frame. This time I was extra lucky and was able to use three sides.  Cha-ching!

Now comes the cutting.  Always cut around the outside of the void from the inside  The cutter cuts at a 45 degree angle so you want the angle to be in the right direction. 

This type of cutter is pushed so I place my ruler along the cut line, line up the white line on the cutter a LITTLE below the bottom end line. 


Once I’m ready to cut I push the razor button on the cutter which sinks the blade in (remember to push it ALL the way down.) then push the cutter while holding the blade down straight along the ruler until the white line passes a LITTLE above the top cut line.  Release the button so the blade slides back and rotate the board and make the other three cuts. 

TIP: I usually cut a line from a kneeling position so I can put a good bit of body weight on the ruler to keep it from sliding as I push against it with the cutter. 

Viola! The finished product! 

  What I like about this is that sometimes wall art can be inexpensive.  You can do a lot cool stuff without spending lots and lots of money.  One of my favorite set of wall hangings are my Elvgren pinups.  


These images are from a 365 day calendar that I bought for 8 dollars.  It worked great since the images are roughly about the same size.   I could easily figure out what arrangement I wanted to do. All I had to was pick my favorites, which was actually more difficult that cutting the mat (although the annoying part was measuring it all out to cut).
Related Posts Plugin for WordPress, Blogger...